AgeVolt Fleet Tracker
Article contents
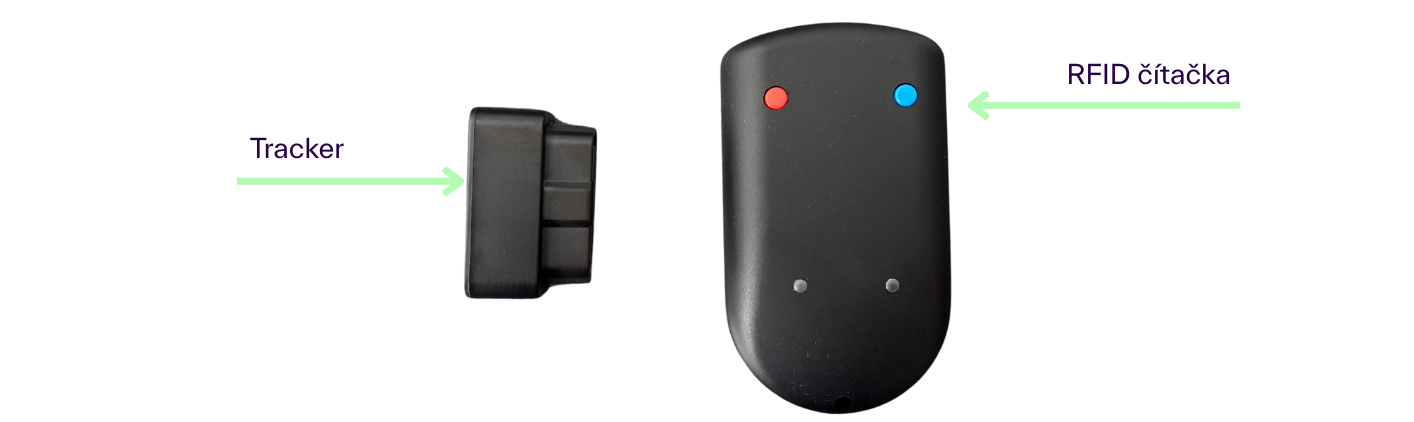
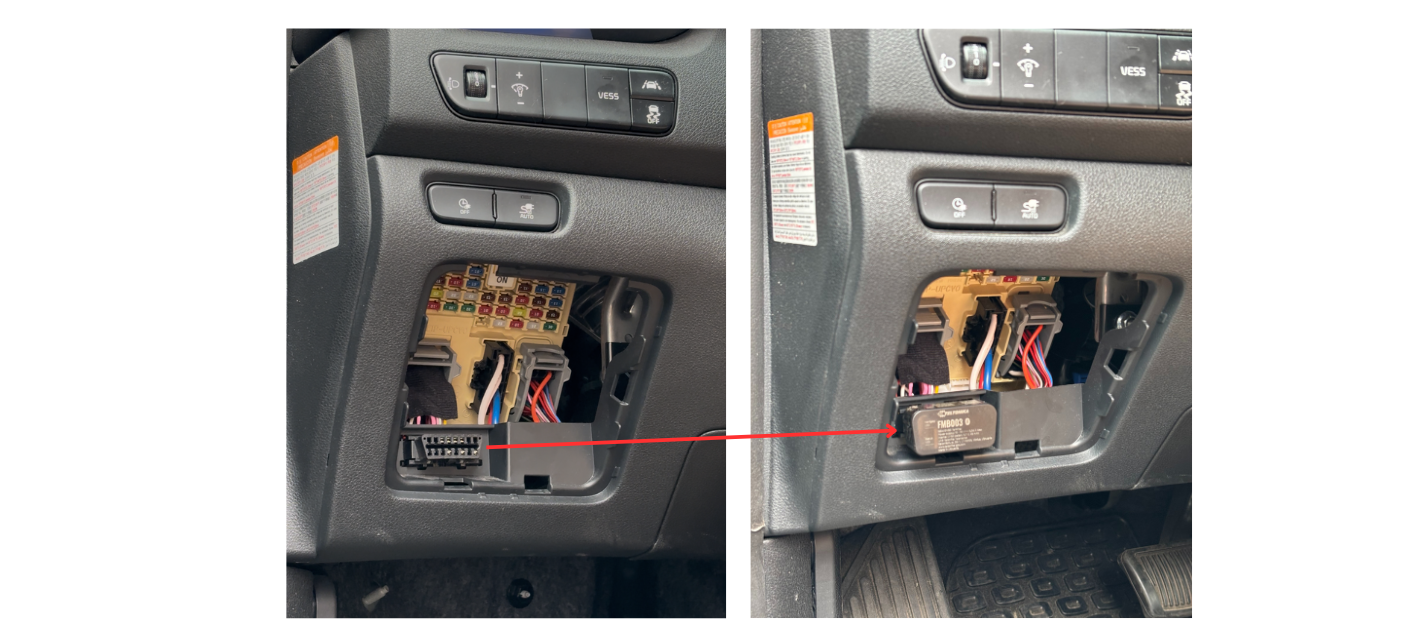
Fleet Tracker records journeys and available vehicle data in MyAgeVolt. The OBD tracker connects to the OBD socket. Available data, such as battery level, fuel level or charging status, depend on the specific car and configuration.
Use without an RFID reader
- Connect the configured tracker to the vehicle's OBD socket.
- Check with AgeVolt that data and journeys for the correct vehicle are displayed.
- After starting to use it, check the recorded journey in the portal.
Use with an RFID reader
The paired reader assigns journeys to a driver and allows business or private mode to be selected. It is useful even with one driver if journeys need to be distinguished.
- Switch on the reader as instructed in the guide supplied with your configuration.
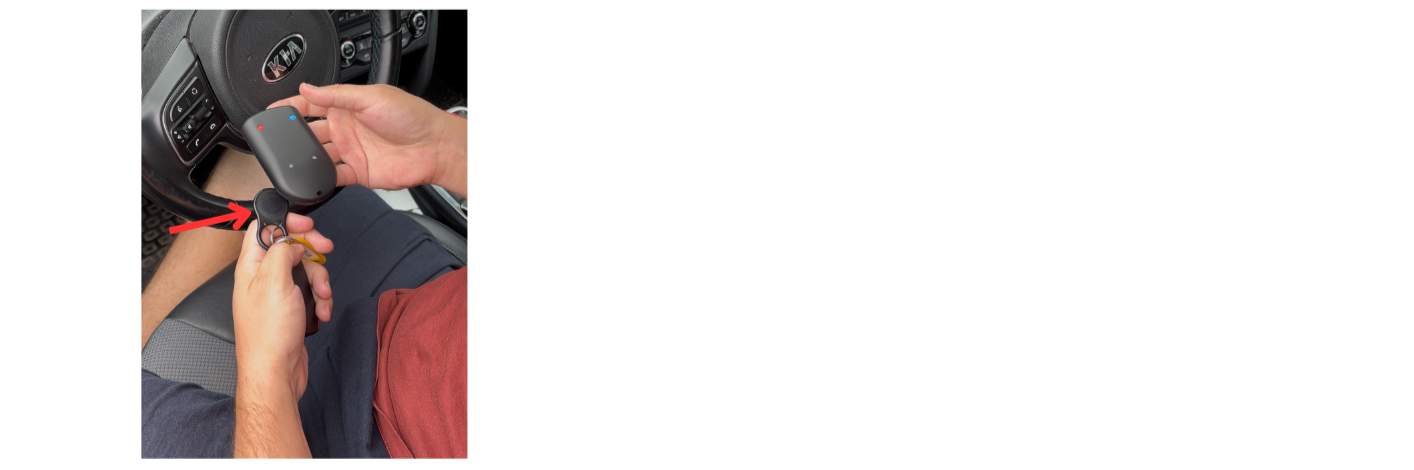
- Before driving, present the assigned RFID card or fob.
- Select a business or private journey and check the indication according to the reader guide.
- After the journey, end identification using the procedure for your configuration.
Operating the original reader shown in the reference documents
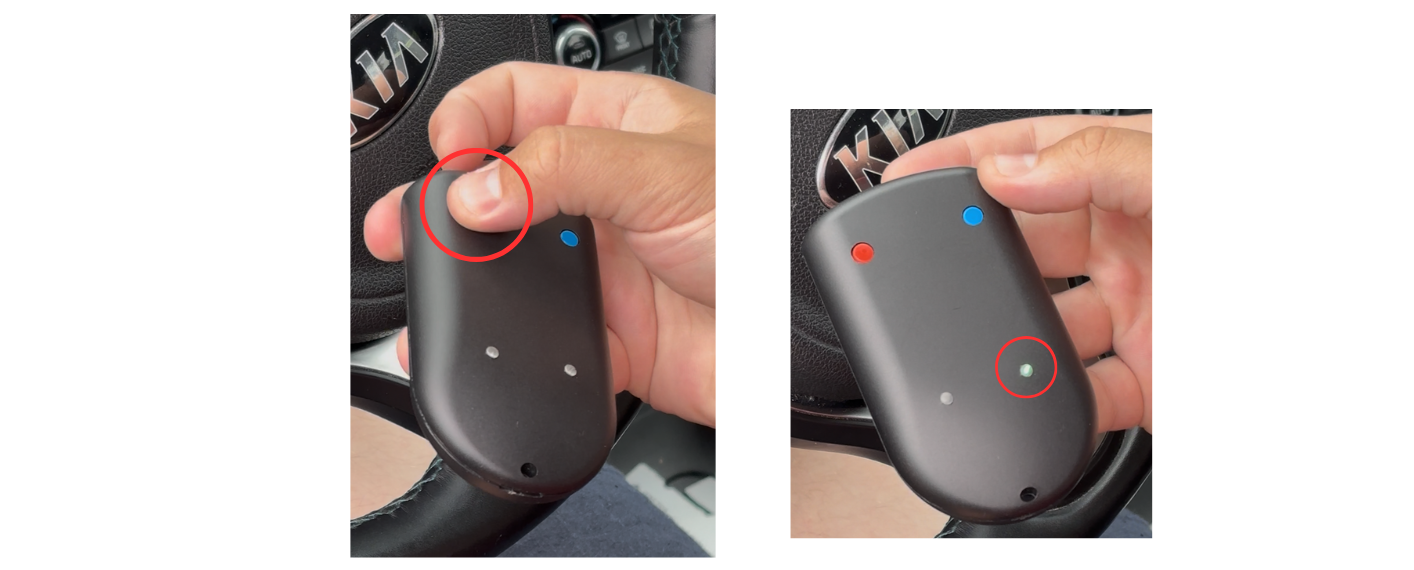
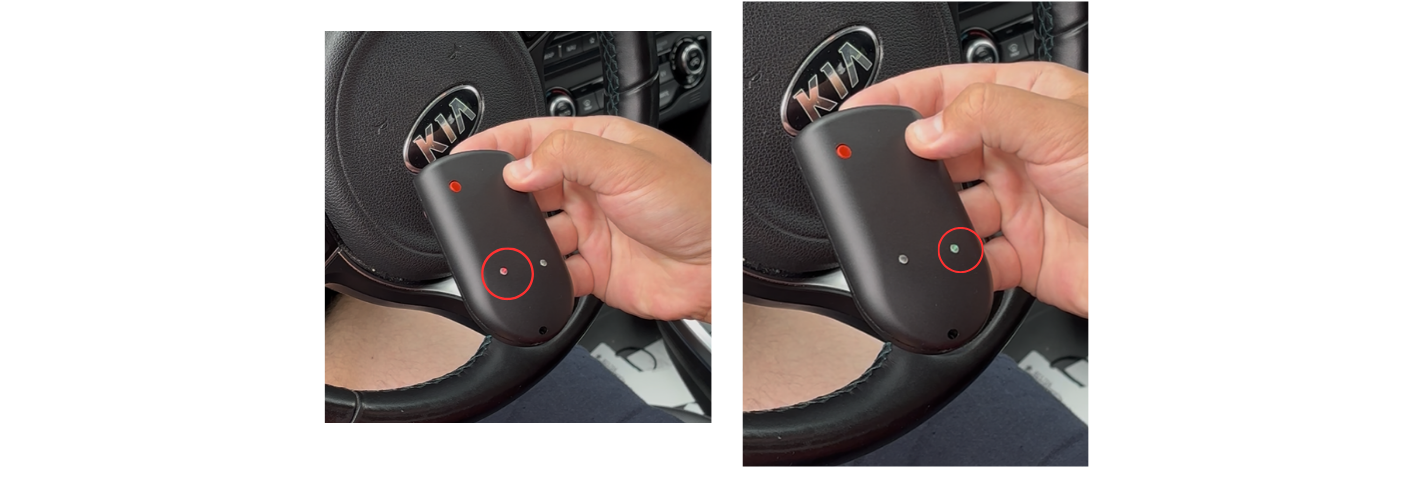
The following button and indicator colours apply to the reader shown in the original documents. Do not use them as universal instructions for every newer RFID reader.
- Switch on by holding the red button.
- Identify yourself by presenting the assigned RFID card or fob.
- Select the journey type with the blue button. Green indicates a private journey and red a business journey.
- Sign out with the red button.
Vehicle card and driver card
At a charging station, the card identifies a vehicle; at the in-car reader, it identifies a driver. One physical card can have both associations. For a shared car, it is practical to separate the vehicle identifier on the keys from the driver's personal card.
What to check if there is a problem
- Whether the tracker is connected and assigned to the correct vehicle.
- Whether you identified yourself and selected the journey mode before driving.
- Whether the LED indicates the required mode.
- For reader problems, also check battery installation and polarity.
Illustrated procedure for the original configuration
These images come from the original article. Select parameters and interfaces for your specific device configuration using the guide above.